Tempest Rose Black & Gold:
A Costume Project
Sep 2021 - Dec 2021
The brief:
I collaborated with burlesque producer and founder of House of Burlesque Miss Tempest Rose on this project; I wanted to build on my sewing skills and challenge myself technically, and she needed a new costume. She proposed the final piece be a three in one, as it is easier for her to pack less things when compereing a show - this gave me the opportunity to design something that could be worn in multiple ways. We set a budget between us, and I made her aware that as I would be learning as I go, the timeline could be flexible. This gave me leeway if I needed it, as I wasn’t sure which challenges I would face.
Research
Initial mindmapping and gathering images:
I had made a more simple costume for Tempest before this project and had performed as part of House of Burlesque for a number of years, so I already had a strong idea of her tastes. Because of this knowledge I gathered images before we sat down to talk about the kind of thing she wanted, so I could offer something as a starting point. I gathered them all on miroboard, and as we talked I could take notes, scribble over references she liked and didn’t like, and searched for others if needed. After this session I had a better understanding of her requirements in a hosting costume (no long sleeves for example), and so I was confident to design something for her.
Drawing the design:
The below image shows the main inspiration, and my critical thinking about my drawings. The final design is shown on the right of the page; it is a black velvet and gold satin corset with petals that fold up and down, and a matching skirt that can also be worn inside out.
Project Development
Making a mini toile:
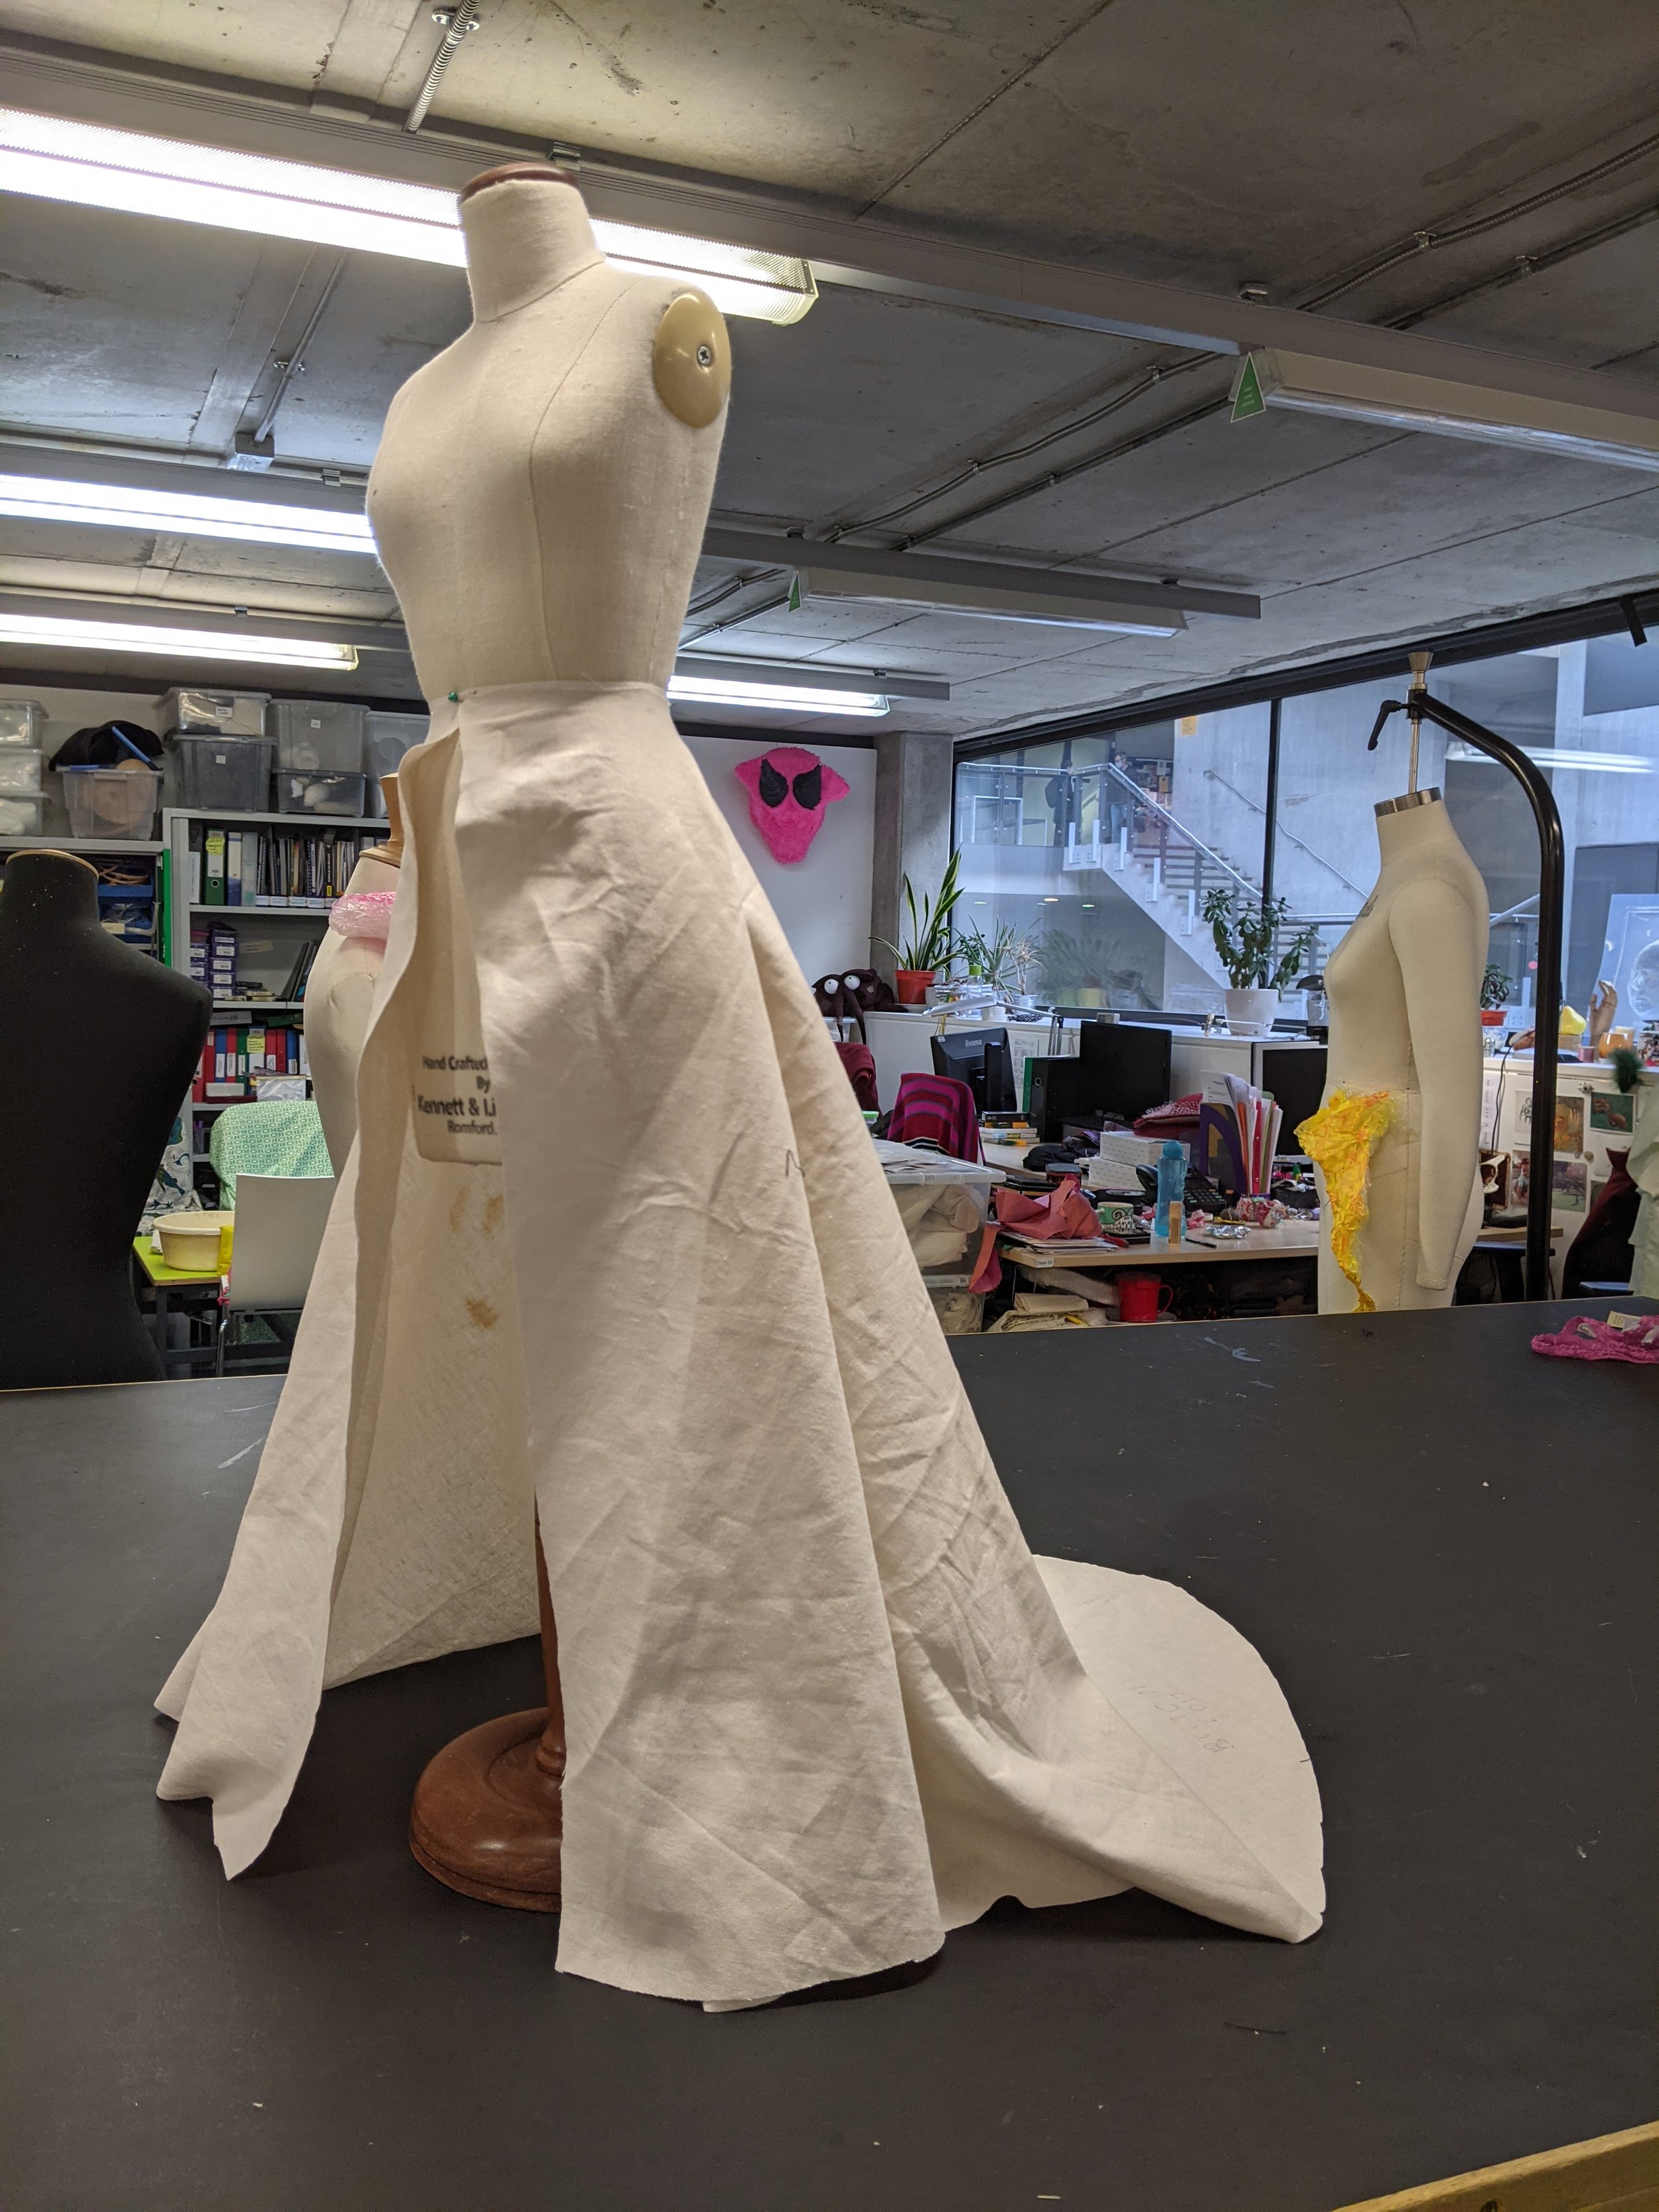
Fortunately Tempest was happy with the design, so I got about creating a mini toile. I experimented with cutting the skirt in order to get the fall I desired; I also wanted it to have a small train at the back. I tried with different fabrics to test out the weight of them:


Process
Making the toile:
Once I was happy with this, I set about making a lifesize toile - I had bought a corset pattern that I thought would work, so I started to add the petals using magnets to help them stay up. Points I learnt at this moment:
take more photos when doing a fitting
I actually wanted a full leotard corset instead of a separate corset and pants, so I’d have to find a new corset pattern
this was my first time making any kind of corset and there were lots of things to learn during this section of the project


Moving forward:
New pattern, sourcing material and the making process
After a moment of reflection and changing course slightly after the toile, I started to source my fabrics - I had a budget to work with and I knew I was to use velvet and satin, so it was just a case of finding the right ones which were the most suitable and fit the budget. I ended up going for a thick velvet and a duchesse satin - both were supposed to not crease easily which is very handy when the costume is travelling in a showgirl’s suitcase.
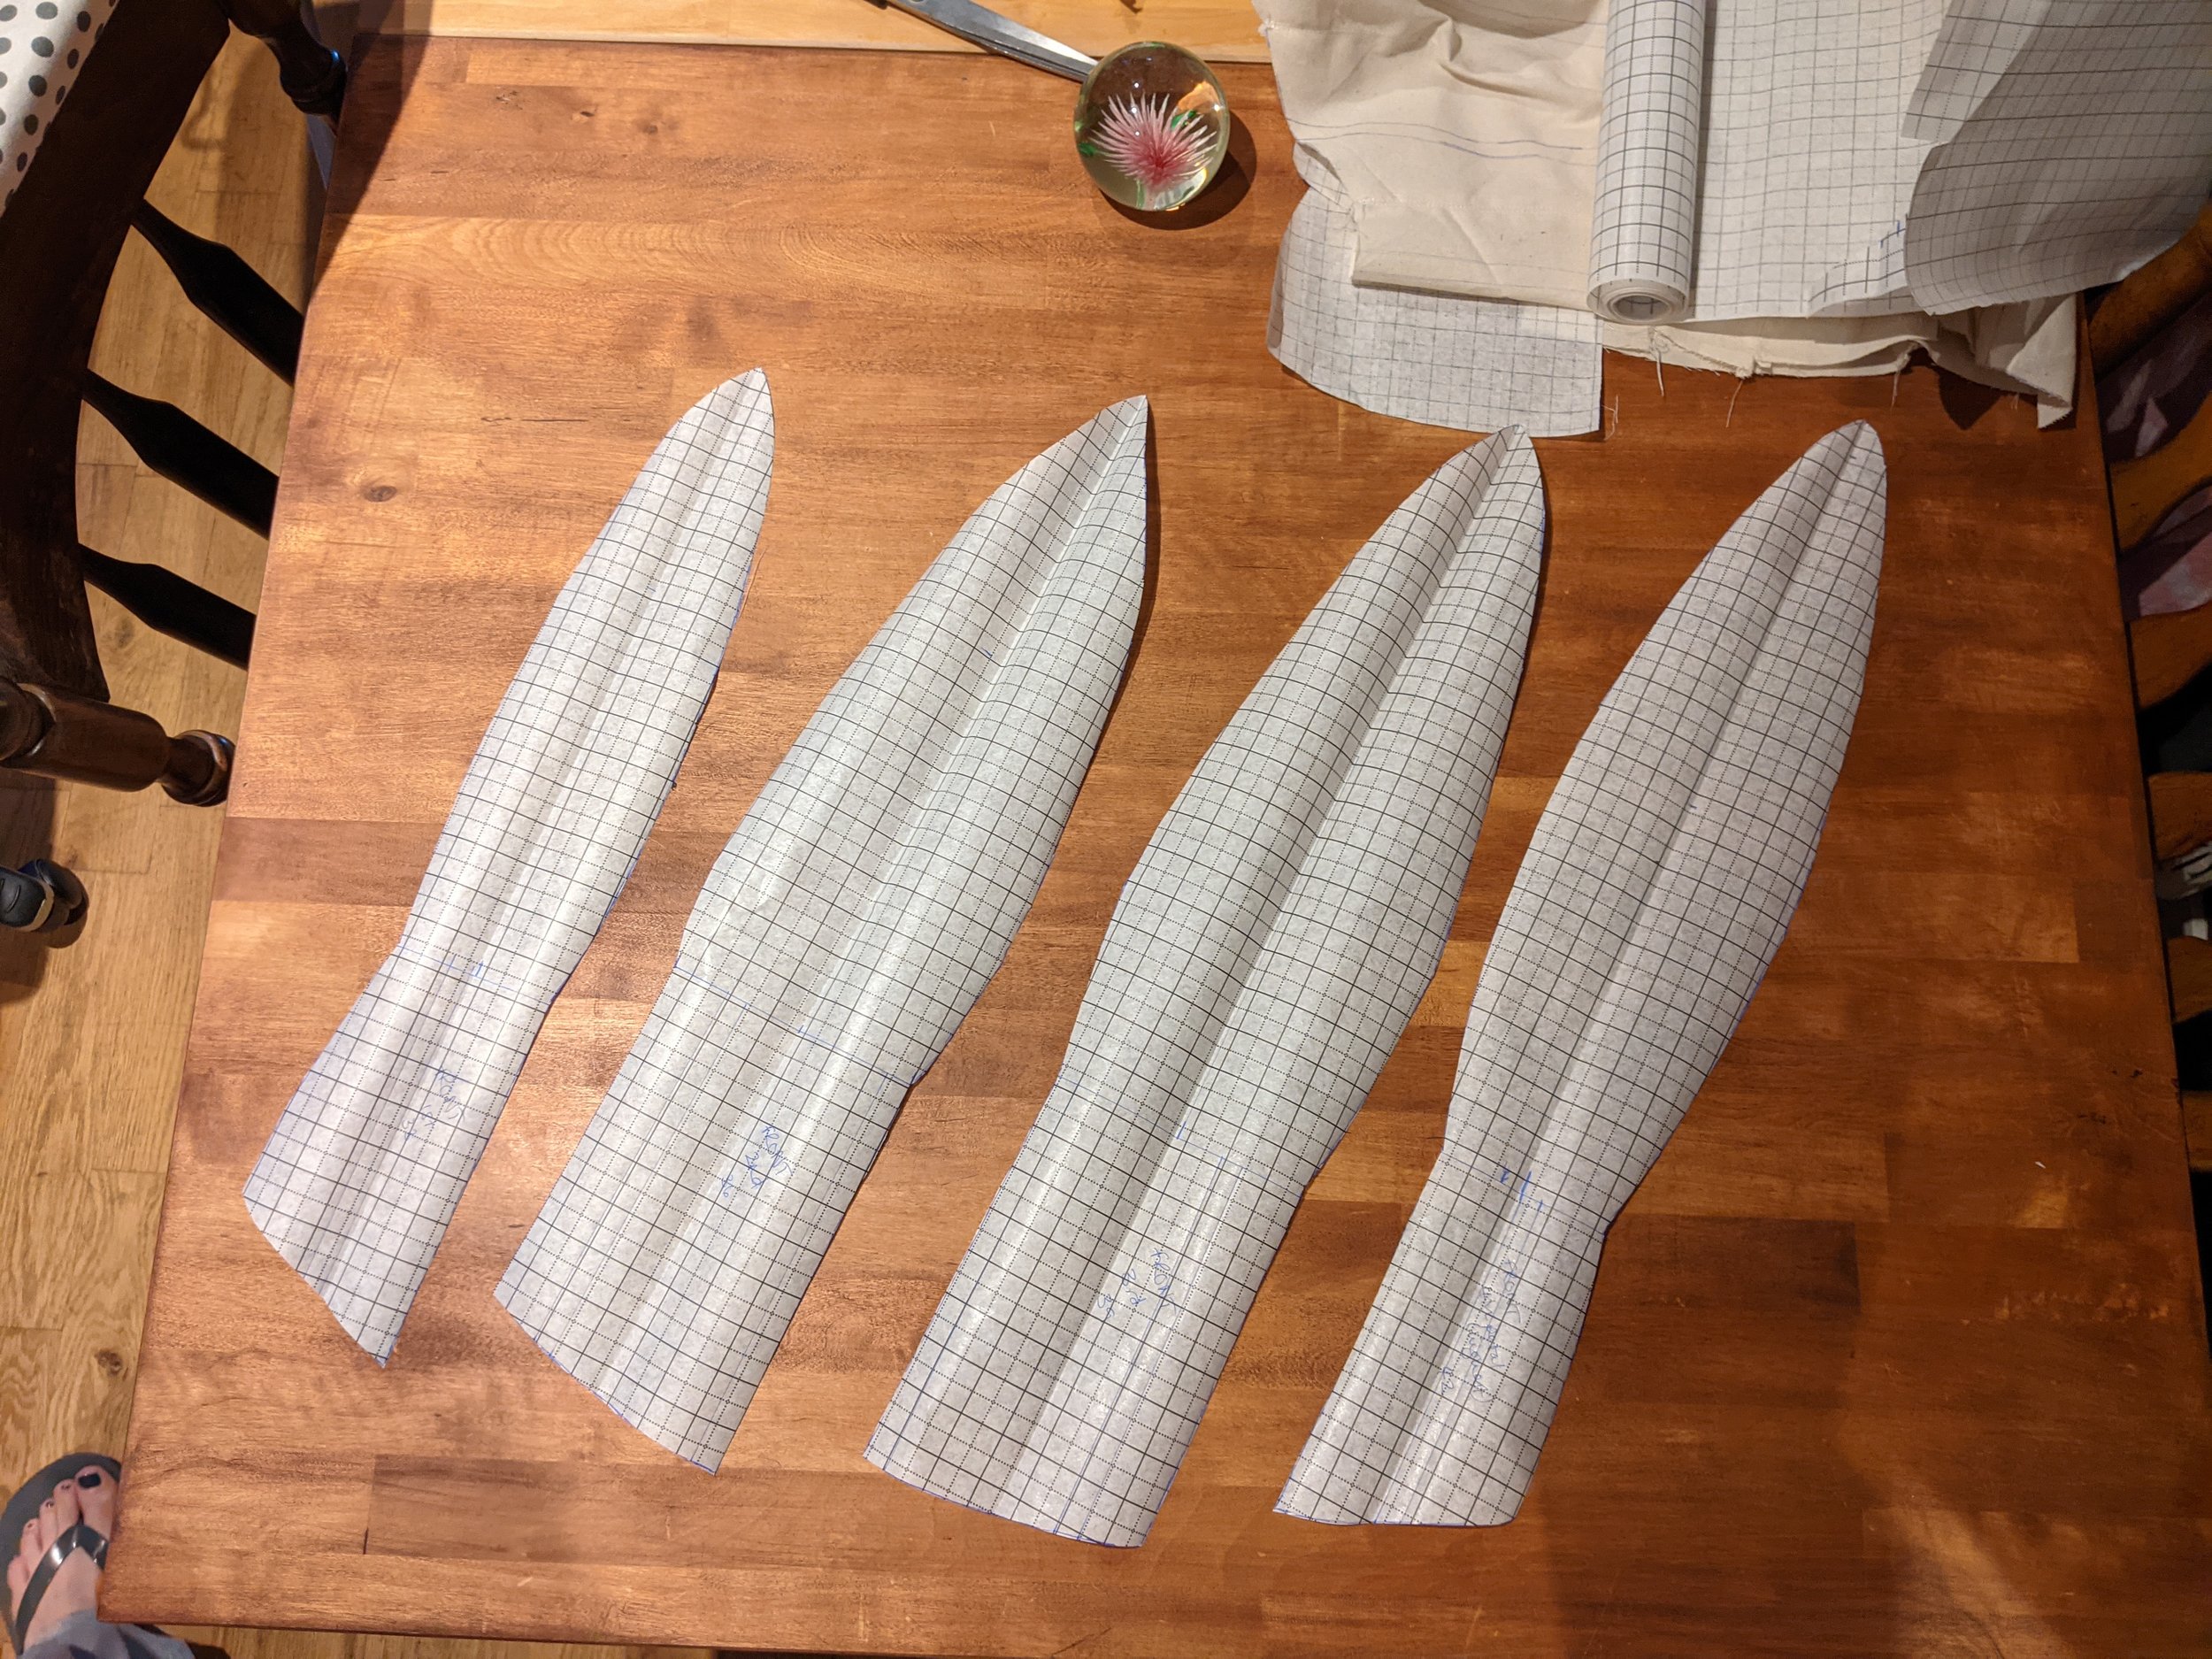
The below images show an overview of this process, including the making of the final piece - I learnt alot during this section too, and had to overcome many obstacles. These included finding a solution in keeping the petals looking smooth and not crinkly (I used two layers of organza which Verity had suggested); not to iron velvet as it damages the fabric so it must be steamed; fabric pens do not work well on a light coloured satin, ensuring you mark the waistline when putting together a corset otherwise the pieces will not match up; how to sew millinery wire into a seam to give something structure; and many other things. This practical process was a steep learning curve but it was what I had challenged myself for.


Final fitting: making notes and adjustments
Once the corset was fully done with the lining and half of the outer part was on, we planned in a fitting - I didn’t want to completely finish the corset before this stage in case any major changes needed to be made and work would have to be undone. I made notes and videos of any bits that needed altering, either to fit Tempest’s taste or for it to fit accordingly, then took it away to be finished. Verity also gave me some corset adjustment panels that she said I could borrow; I have shown images of them below. They are used to avoid having to add eyelets and lacing to the actual corset before it is fitted properly; they are a huge time saver and I was extremely grateful for this tip. Here are some images from this fitting:


Final adjustments and finishing touches:
This part was about making sure everything looked great and it all felt secure; I was wary of it not being secure due to this being my first corset and also due to the technical element of the petals, I wasn’t sure how well it would hold. I also needed to add a removeable petal at the back which could be worn up or down like the rest of the corset; this was a last minute addition that I had not forseen:
Final Outcome
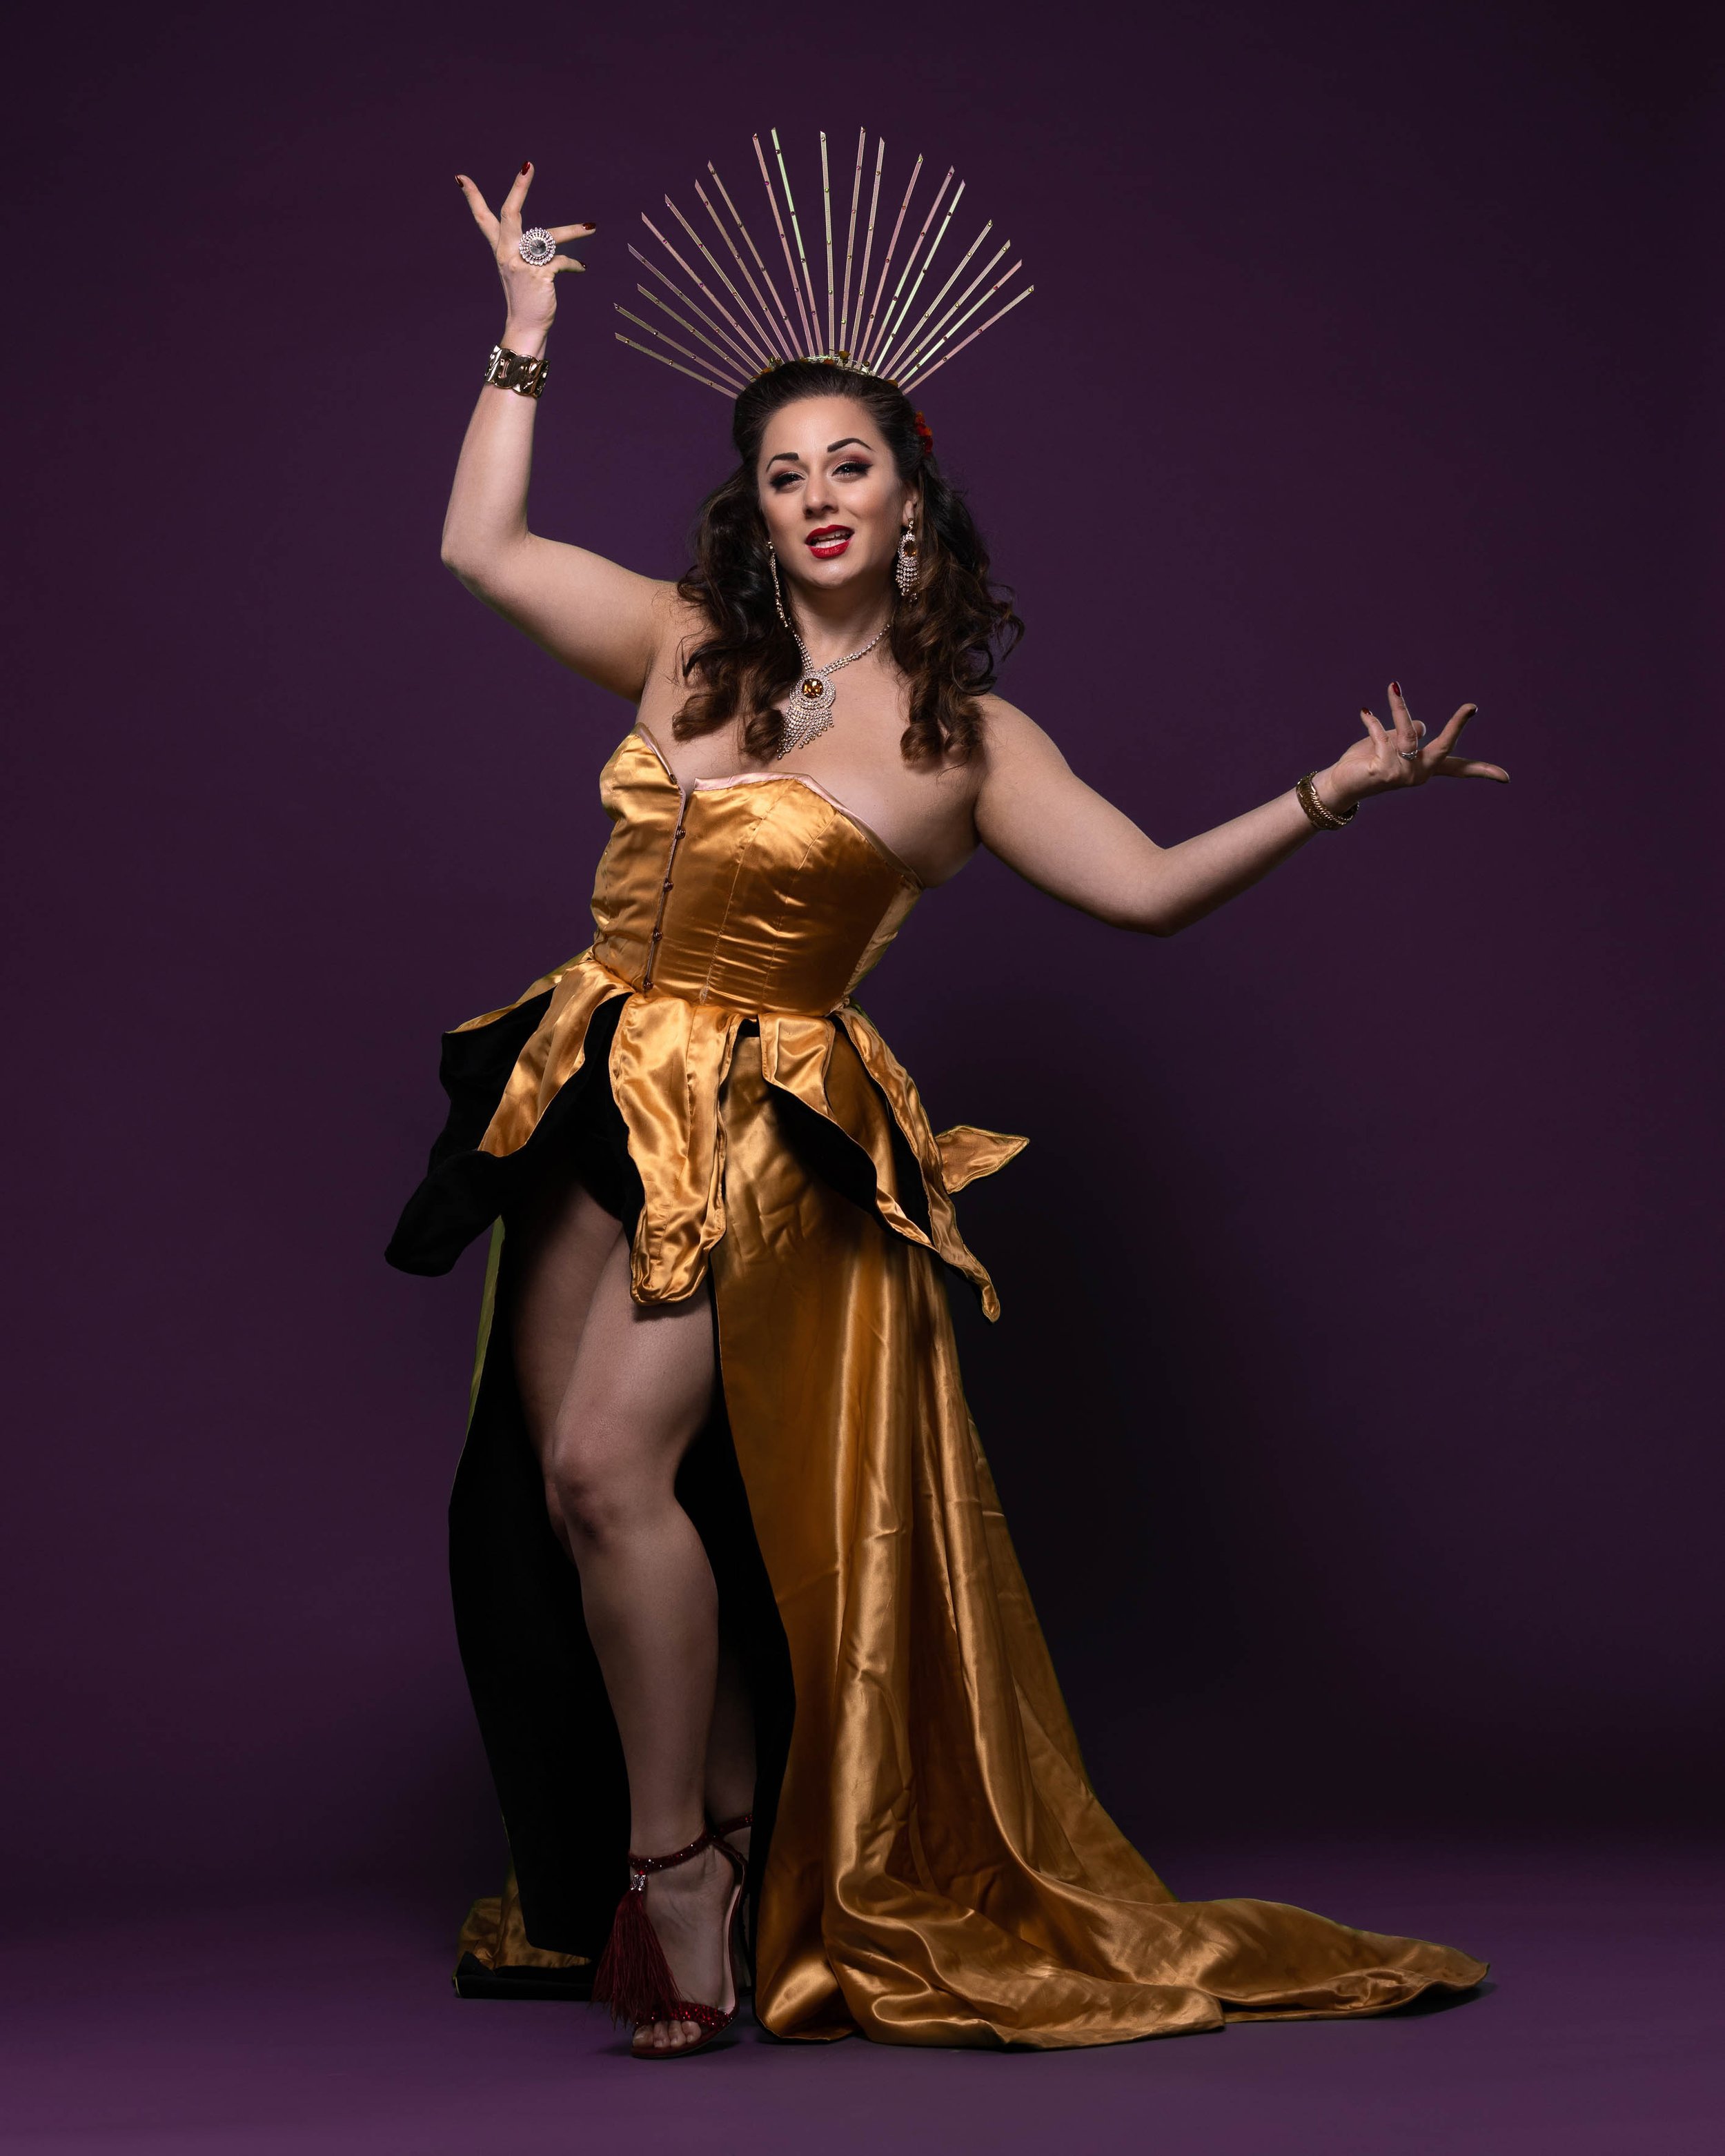
Here are some images from a photoshoot that Tempest did with Mirrored Light Photography in the final piece:


Project reflection:
Overall I was extremely proud of this project; I had set myself a big challenge and I did it; Tempest was happy with the outcome. I did have to make a few tweaks after it was finished, as due to it being worn a few times for shows some parts needed readdressing. I learnt so many technical skills during this project, which I feel put me in a good position to challenge myself further in my costume making for CSM Alive. I also learnt how to manage my time when working on a sewing project - similar to editing, it takes much longer than you anticipate. It was also a really good experience in managing the expectations of others within a creative collaboration; if I were to do a similar project I would bear in mind that even if I can design it, I might not be able to make it. This was tough time wise and work wise, but I am glad I did it as it has definitely helped me evolve as a costume designer and maker.


